 |
|
|
Maintenance
- You Can Do It
 Maintenance job of the month - Changing the oil in your C5 Oil is the life blood of any
internal combustion engine. It cools and lubricates moving engine
parts. Oil also cushions the the loads generated by the explosive force
of each cylinder. The high compressive forces generated by a modern
Corvette V8 require special attention. That attention has been
addressed by the good engineers at GM. The development of synthetic oil
by Exon-Mobil has made life for the late model Corvette
a lot easier. SAFETY
FIRST
If you don't have access to a lift
you will also need hydraulic floor jacks or a pair of heavy duty front
drive up ramps. You must also employ a pair of safety jack stands. Some Tips -Warm up the oil Take your Vette out for a short
cruise, this will heat up the oil and help to drain out any nasty
material that may be lurking in the engine.
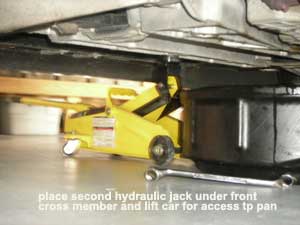 - Place a set of short safety jack stands under the frame as well. - Place a wedged chock behind both rear tires. This will ensure that the car wil not move backwards during the jacking procedure. Ramps An alternative to jacking up the front end involves using a set of ramps. The only ramps that seem to work on a late model Vette are the heavy duty plastic ramps that are sold in auto parts outlets and are marketed under the name Rhino Ramps. These units have a 17 degree approach angle and are wide enough to accomodate the front tires. 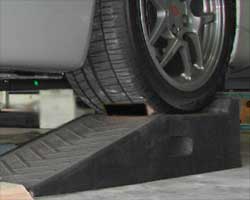 The oil drain plug can be accessed from under the drivers side of the car. The plug is on the base of the pan facing towards the front of the car. Using a 15mm box wrench remove the plug and let the oil drain into your 10 quart collection pan. Lower the car to allow the oil to completely drain. 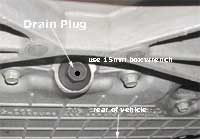 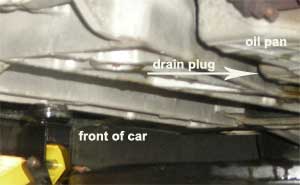 Let the oil drain until it slows
to a drip, it usually takes about about twenty minutes to completely
drain the pan. This is the special procedure that is referred to in the
owners manual. After all the oil has drained raise the car again and
reset the jack stands.
Removing the oil filter can be a pain in the ass as there is very little room to utilize most filter removal wrenches. Some are better than others, the adjustable clamping type wrenches work better than compression type removal wrenches. A smart move is to replace the filter with a KN unit. The KN filter has a 1/2 inch nut welded to the top of the filter can. Removal with a socket wrench is a snap. 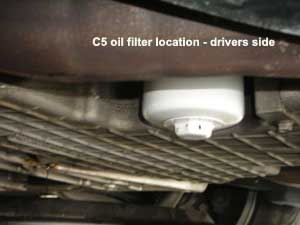  After you remove the old filter
check
it to make sure the rubber sealing gasket is still on it and not stuck
to the filter mounting base on the engine.
Lubricate the gasket on the new filter with some oil. 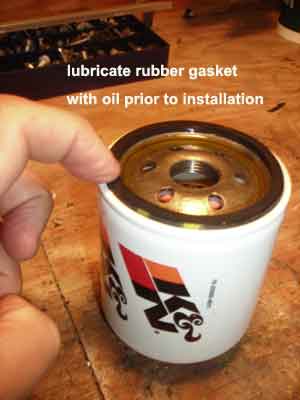 Pour a few ounces of fresh oil
into the new filter prior to
installation. This will aid in minimizing the risk of dry operation at
start up.
Install the new filter by hand until it snugs up against the mounting
base. After
the filter initially contacts the base give it another 1/4 to 1/2 Turn
by hand.
Make sure that the plug is clean and the gasket is still intact. Clean the plug mounting pad on the pan. After the oil has completely drained replace the drain plug. Do not over tighten the plug or you may damage the aluminium pan . After everything is buttoned up pour six and a half quarts of the good stuff back into the engine. 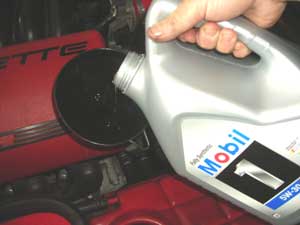 Reset the oil life monitor on the
DIC panel. With the engine off put the key in the on position. Press
the trip button several times until the oil life indicator is shown.
Press and hold the reset button on the panel until the reading goes
back to 100%.
That's it, you are now good to go for another year.    - |