C5 Tune Up
One
of the great things about modern LS engines is that they do not require
extensive periodic maintenance. GM tells us that wires and plugs for
the LS1 should last for over 100k miles. We think that this is pushing
the envelope, after about 50k miles everything on this engine should be
inspected and if need be replaced.
The plugs and wires on an
LS1 are often neglected because the they are a pain in the ass to get
to. With a little patience and the right tools an average DIY guy can
tackle this job in about an hour or two.
The first thing you
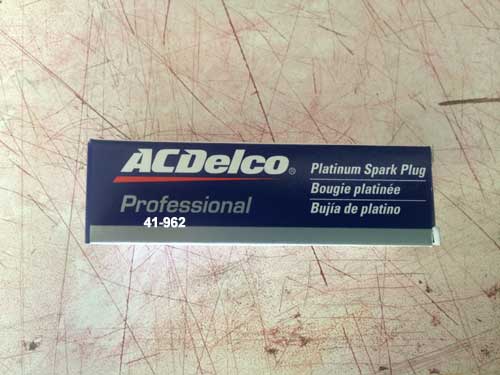
need is a new set of plugs and wires. We are old school and chose
a set of AC Delco Platinum tipped plugs, (part no. 41-962). The new
iridium plugs are great but the cheaper tried and true platinums work
just fine.

Next
on the shopping list are a set of plug wires. You can spend a ton of
money on multi spiral core intergalactic wires. Save your hard earned
money and get a set of red silicone 8.0mm power wire from Jegs for
about $40, (part no. 40216). These wires offer high quality and a
perfect fit for the LS1.
Now that you have the correct parts
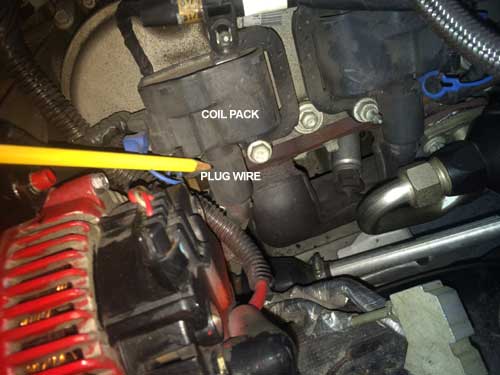
let the games begin. With a good ratchet and few extensions attack the
drivers side bank of plugs first. Remove the fuel rail cover to expose
the labyrinth of hoses and wires that are in your way. Each wire is
connected to a coil pack. Grasp the plug wire on the first coil pack
and twist it until it comes loose. Twist the plug wire at the plug and
remove it. The removal of old wires may take a bit of coaxing, be
patient and wear a set of gloves to prevent getting injured when the
wires break loose.

Check
the gap on the new plugs. We like to set the gap platinum plugs
to .045" , everybody has their own ideas on the perfect gap but this
works great for a stock LS1.
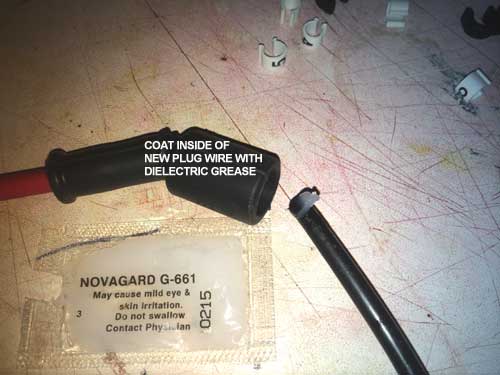
Put
a very small dab of grease on the threads of the new plug and coat the
inside of the new plug wire boots with dielectric grease. Take the OEM
heat shields of the old wires and place them on the new wires.
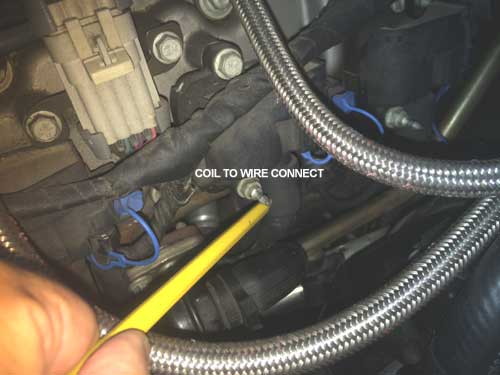
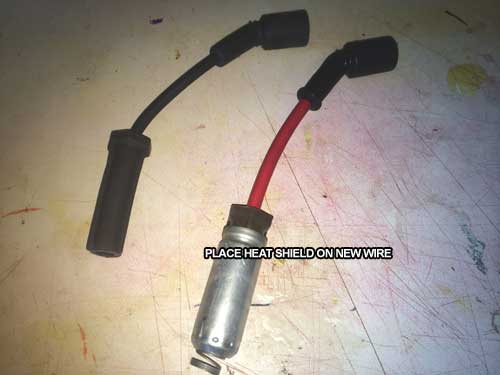
Screw
in the new plugs by hand until finger tight, then give them another
small twist with a rubber lined socket. Put the new wire boot on the
plug end, when you hear a click it is secure. Put the other end
of the plug wire on the coil pack connector. When you hear two clicks
it is secure.
Now comes the fun part, the first two driver side
plugs are easy, the number five and seven plugs are impossible to get
at unless you remove the air tube assembly. Just remove the two 10mm
bolts that hold the assembly to the block and move it out of the way.

The
two evil plugs are now easy to get at. The passenger side plugs are a
snap. The only hinderance on that side is the oil dip stick tube.
With a little patience you can ease the plus and wire off at that
location.
That's it your engine will purr like a kitten at idle and roar like a lion at WOT with this simple maintenance fix.
The
Vette Nuts


